How Does SharkMount Work?
Share
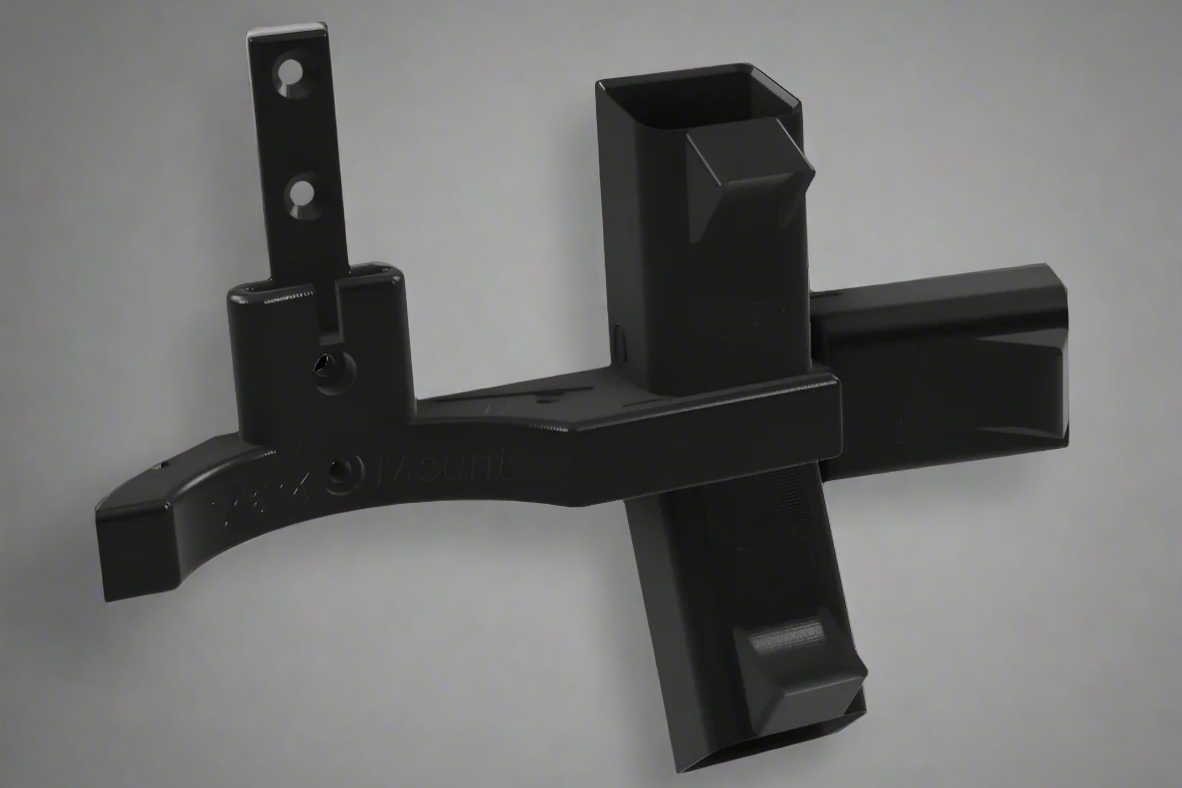
SharkMount started out as a simple fix to a simple problem. Shark does not provide many options when it comes to mounting your vacuum on the wall, or getting a handle on those attachments. The first SharkMount was created to fix this problem for one specific vacuum.
The first Shark. Mount. There are a few out in the wild.
Then we noticed that others around the internet were also looking for mounts for their Shark vacuums. So we went to work making it adaptable to different vacuums while including flexibility in the attachment locations. After many hours of modelling, printing, fixing, printing, testing, and more printing, SharkMount was ready to go.
We start with the base - OM for vacuum and six attachment slots, OG for vacuum and three attachment slots, and OA for six attachments only.
Then we add the hanger for your vacuum.
And we offer those hangers by themselves, if you just want a place to hang your vac.
Then we start throwing attachment holders in all those slots. Some vacuums only have one type of holder, while others require a bit more flexibility.
The we finish that off with a clip to hold them in and make it look polished.
We make sure that power cord is going to stay right where you need it with a press-in slot.
At this point you can start hanging stuff and rearranging to your liking. All holders can be placed in any slot, but some attachments could be restricted by the vacuum itself. Just move it to another slot and try again.
Any questions? Let us know at support@sharkmount.com


